Can Network Canvas support two mode networks? I would like to be able to display two different node types at the same time on the sociogram. I think this would be a really powerful feature!
1 Like
This is a great idea!
There are some complexities around implementing this within Network Canvas. Chief among these is that, because node types have their own unique variables, you would need to specify multiple layout variables (one per node type). The same would also be true for node highlighting behaviour.
With that said, we hope to implement this feature in a future release of the software. Unfortunately we don’t have an estimated timeline for this given its complexity, but it is on our radar as a feature of interest.
If any others have thoughts on how this should work. please feel free to share them.
I just wanted to share a potential workaround for users that need two-mode functionality (such as the ability to show two node types on a sociogram) which will work within the existing software. @bernieh has used this approach, and with some caveats it might get you what you are looking for.
Concept
A little known feature of the software is that it allows you to customise the way that nodes are labelled. This is achieved by writing a small function in JavaScript that is called for each node in the interview network that returns the label the app should use. This functionality is documented here: https://documentation.networkcanvas.com/reference/node-labelling/#custom-node-labelling-advanced
The workaround being proposed here is to use this functionality to append text or an emoji to a node’s label, based on an attribute you have created to represent its “type”. This will allow the participant to visually disambiguate a node’s type within the interview, and will also allow you to filter and sort by this property.
Implementation
To implement this workaround you must do the following:
- Create your protocol in Architect as you normally would. Use only a single node type, which will be used to represent all the types we will define in the next step.
- Use node attributes to differentiate between your actual network types. We suggest using a series of boolean attributes (
isFriend,isFamiliyetc.). Doing so will allow you to set these attributes using the ‘assign additional variables’ feature of the Name Generator interfaces. For example, on a prompt asking the participant to nominate family, you can set theisFamilyattribute to true. - Create a custom
nodeLabelWorker.jsfile (see example script below) which will use your boolean attributes to add an appropriate label to the node, so that the participant can visually identify the type during the interview. Consult the documentation for further details. - Add your script to your protocol file. To do this, rename your protocol from
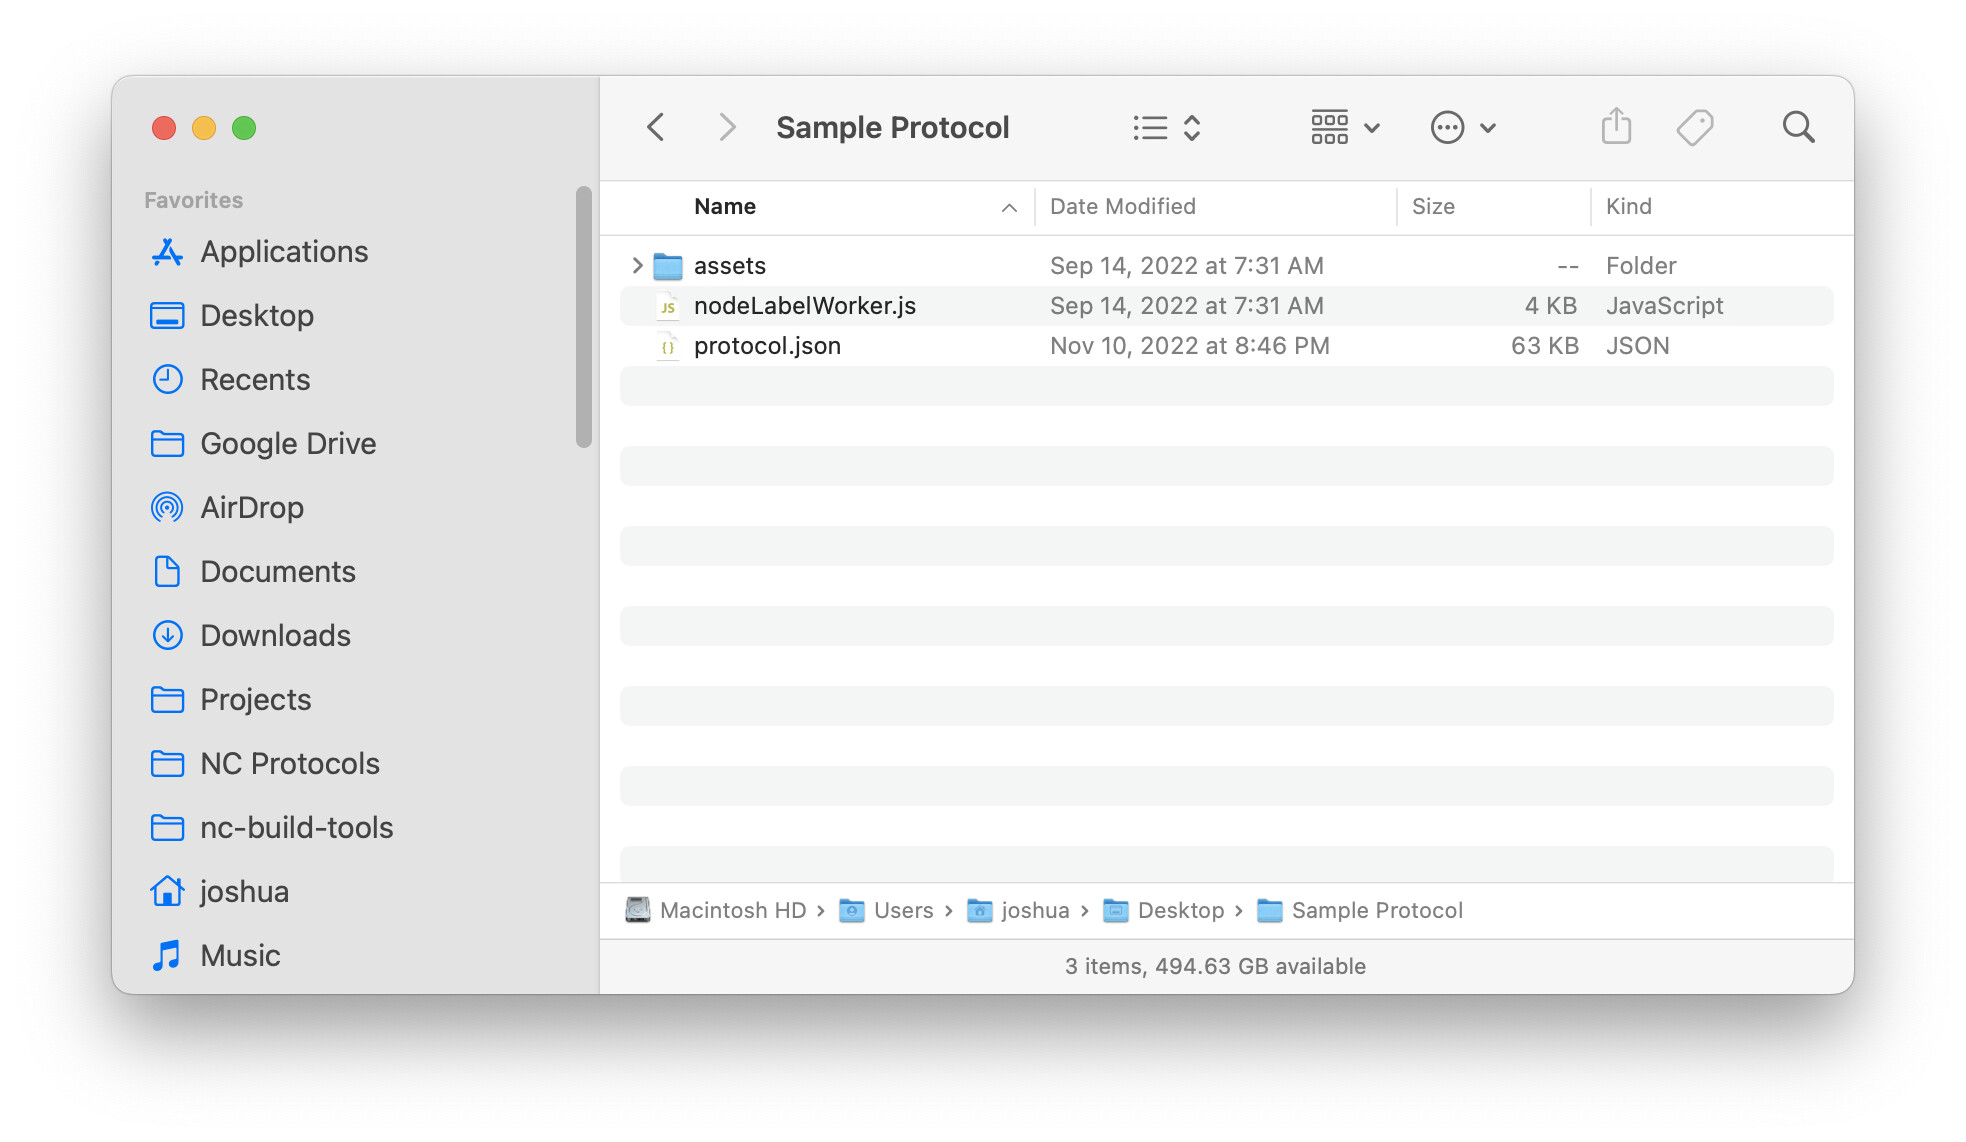
<filename>.netcanvasto<filename>.zip(basically, change the file extension to.zip!), and extract the contents. Add thenodeLabelWorker.jsfile at the same level. The file structure should look as it does in the following screenshot:
- Now, reverse the previous step. Select the files (making sure to also select the assets directory) and zip them. Rename the resulting file to
.netcanvas, and test your changes. Take care not to zip the parent folder - the software requires theprotocol.jsonfile to be at the root level of the zip archive.
Sample Script
Below is a sample nodeLabelWorker.js script that will add an emoji to each node’s label, based on the value of a variable called type.
Note: The \u{0a} string in the sample represents a ‘line feed’ (new line) character. It will simply put the emoji on a separate line from the text.
function nodeLabelWorker({ node }) {
if (node.isFriend) {
return `💙\u{0a}${node.name}`;
}
if (node.isFamily) {
return `👨👩👧👦\u{0a}${node.name}`;
}
if (node.isColleague) {
return `👨💻\u{0a}${node.name}`;
}
return node.name;
}
You can use this script as the basis for your own behaviour!
1 Like